
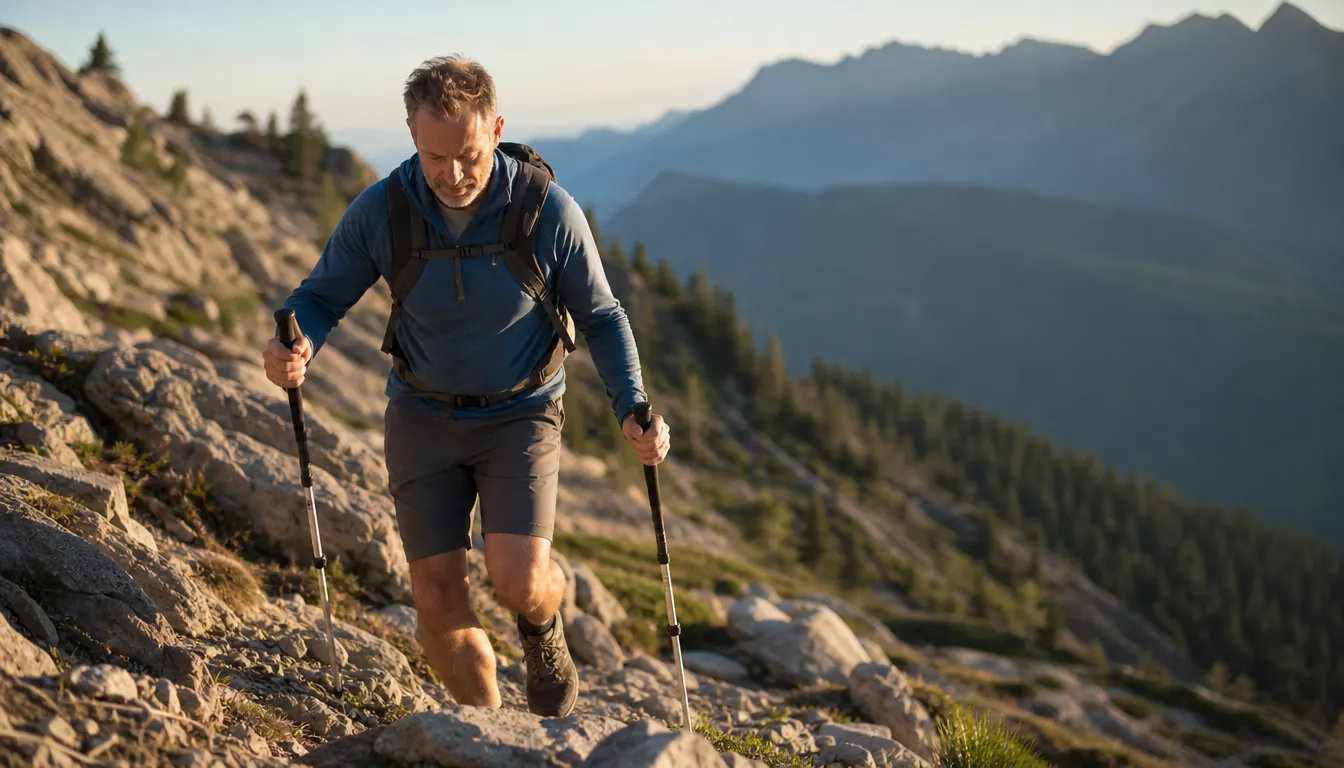
My left knee swelled up for a week after a long descent in the Uintas in the summer of 2023. Nothing dramatic happened. No fall, no twist, no pop. I walked downhill for a couple of hours on a rocky trail with a loaded pack, and by the time I got back to the truck the joint was puffy and sore and it stayed that way for seven days. I am 58. A week of limping around Ogden is a week I do not get to spend on anything useful.
That is how knees go on descents. They rarely fail in a single moment. They wear out quietly, one step at a time, and then they file a complaint later that night. I bought a pair of Cascade Mountain Tech Trekking Poles after that trip and I have used both of them on every downhill since. Not because I turned into a pole guy. Because the alternative was a knee that quits on me while I still have a mother to look after on weekdays and a short list of weekends to be in the mountains.
What follows is the routine I actually use, in the order I use it. It is not complicated and it does not require anything beyond a set of poles. It does require you to slow down and think about the last mile, which is the mile most of us treat as an afterthought.
The Pair That Took the Load Off My Left Knee
Aircraft grade aluminum, adjustable from 26 to 54 inches, cork grips with an extended lower section you can slide down onto when the trail tilts. Both poles, every downhill, three seasons now.
Amazon Check Today's Price on Amazon →Why the Downhill Is Harder on Your Knees Than the Climb
Going up is work. Going down is damage. On the climb your quad shortens as it pushes, which is how a muscle is built to operate. On the descent that same muscle has to lengthen while it is under load and while it is holding you back, and that lengthening under load is what leaves people sore for days. Your knee sits in the middle of all of it, taking the shear while the quad acts as the brake.
Add a pack and the math gets worse. I am about 190 pounds. A two night load is another 30 or so. Every step down, one leg absorbs several times body weight in force, and there are a few thousand steps between you and the trailhead. You do not feel the first thousand. You feel the last five hundred.
Poles do not fix a knee. What they do is give you two more points of contact so your legs are not doing all the braking by themselves. On a long descent I can move a real share of that work into my arms and shoulders, which are going to be tired at the end of the day anyway and do not need to be protected. The difference for me is not subtle. It shows up that night, in whether I can get up off the ground after sitting at the picnic table.
Step 1: Set the Length Before You Leave the Truck
Do this standing on flat ground, not on a slope. Loosen the quick lock on each pole, extend it until the grip sits somewhere between hip and lower rib height when you stand up straight with your arms relaxed at your sides, and close the lever with firm palm pressure. If the lever closes with two fingers and no effort, it is too loose and it will slip under load. Check both locks before every trip, not just the first one.
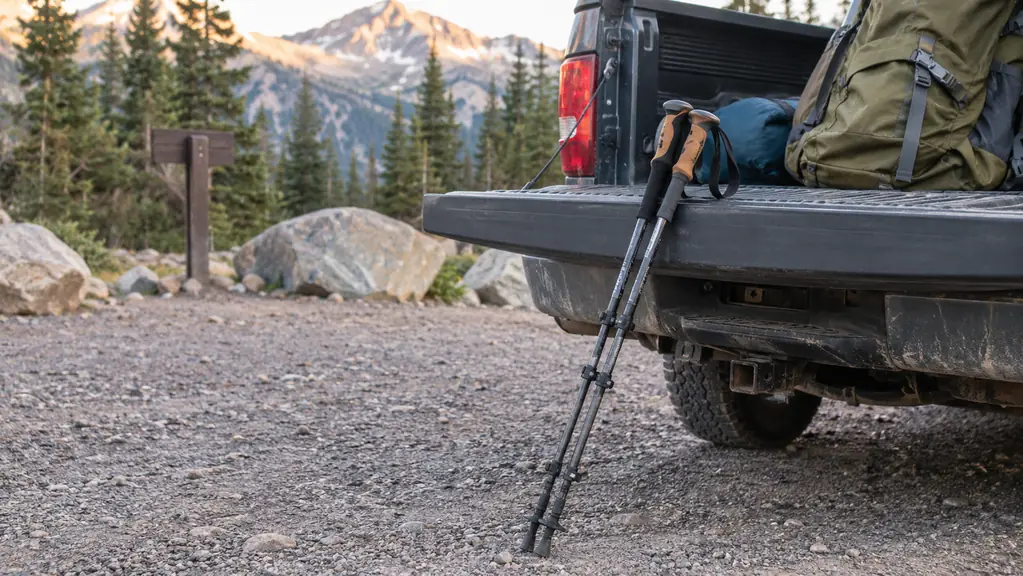
The Cascade Mountain Tech poles adjust from 26 to 54 inches and fold down to 26 inches, which fits behind the seat of a pickup without a fight. Mine live there. That is the only storage decision I have made about them in three seasons and it has worked out fine.
Length matters because of your posture. Set them too short and you will hunch over them, which puts a lower back that already complains on a loaded carry into a spot it does not like. Set them too long and you end up reaching, and a reaching pole does not carry weight, it just swings along for the ride. Get it right once on flat ground and you will spend far less time fiddling on the trail.
Step 2: Shorten the Poles When the Trail Turns Down
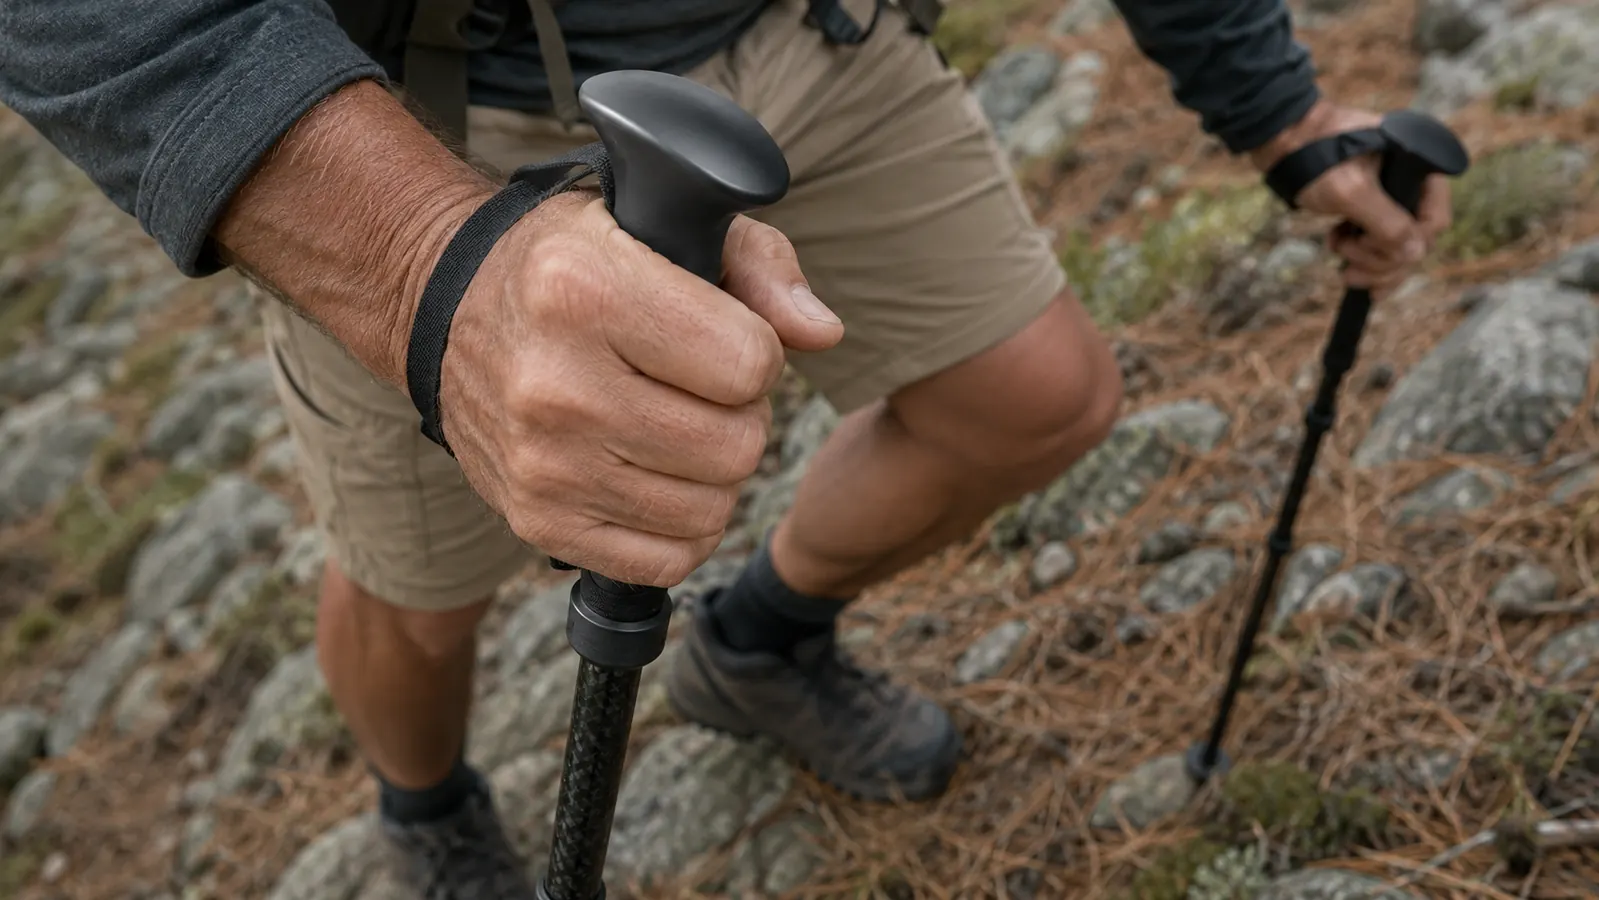
I take a couple of inches out of mine when the trail turns down and put them back when it flattens out. On a steep, rocky descent I want the tip landing near my foot, not three feet out in front of me. A pole planted close to your instep is a brace. A pole planted way out ahead is a commitment, and if it slides on loose rock you are already leaning on it when it goes.
The shorter setting also keeps me standing tall instead of hunched over a pair of canes, and it keeps my steps short. Short steps on a descent are the whole game. Nobody has ever hurt a knee taking smaller steps downhill.
This is where the extended lower grip earns its keep. On a sidehill, or on a stretch where the ground rises for twenty yards before dropping again, I slide my hand down onto that lower section instead of stopping to readjust the shaft. When the trail falls away again I move back up to the cork. Two seconds, no fiddling, no standing in the middle of a rock garden with one pole under my arm.
Step 3: Plant the Pole Before You Move Your Weight
Timing is the part almost nobody gets right at first. The sequence is: the pole tip touches down, you press down on the grip, and then you step. Not the other way around. If the pole lands after your foot, it is not helping you, it is just keeping you company.
Think of it as handing off weight. Your downhill foot is about to take the load. Before it does, some of that load goes into your arm through the pole. On a steep pitch the rhythm is plant, press, step, plant, press, step. It feels deliberate and slightly slow for the first mile. By the fourth mile it is automatic, and my knee is the reason I keep doing it.
The tips matter more than people expect. The tungsten carbide tips bite into dirt and gravel, which is most of what you walk on. On long stretches of smooth rock, and the Wasatch has plenty of that, I switch to the rubber tips. Carbide on slick granite skates. Rubber grips it. The poles came with rubber tips, boots, mud baskets and snow baskets, and the whole set rides in the top pocket of my pack.
Step 4: Keep Both Poles Working on Loose Ground
One pole is a walking stick. Two poles are a system. On scree, on wet roots, on the loose gravel that sits on top of hardpack, I want both tips on the ground and both arms loaded. If one foot slides, the two poles are what keep me from following it down the hill.
I see people carrying one pole in one hand with the other collapsed and strapped to the pack, and I understand the appeal, especially on easy trail. But the descent is exactly where you want the pair. The whole point is that the load gets split. One pole puts a lot of work into one shoulder and leaves half the braking to a knee that is already unhappy with you.
The pair weighs about 10 ounces each, so carrying the second one costs you a little over half a pound. I have carried heavier things and gotten less out of them.
Step 5: Change Your Footwork, Not Just Your Gear
Poles are half the fix. The other half is how you go down. Shorten your stride. Take more steps. Land with a slightly bent knee and a soft foot instead of dropping onto a straight leg. On steep sections I turn sideways and edge down like I am on skis, which looks ridiculous and works better than anything else I have tried.
I also stop more. Every forty minutes or so on a long descent I stand still for a minute, shake out my legs, and let the knee come back to itself. It adds maybe five minutes to the day. That is a trade I will take every time.
And I do not race the last mile. The last mile of a descent is where I got hurt in the first place, because the trail flattened out, my guard dropped, and I started striding like I was on a sidewalk. That is the mile that swelled my knee in 2023. Now I keep the poles planted and the steps short all the way to the truck.
A pole planted near your instep is a brace. A pole planted way out ahead is a commitment, and if it slides on loose rock you are already leaning on it.
What Else Helps
Poles are the biggest single change I made, but they are not the only one. Boots with real cushioning and a rock plate under the forefoot take some of the sting out of sharp ground. So does dropping pack weight. My two night load runs about 30 pounds and every pound of it lands on my knees on the way down. Cutting five pounds off the load does more for my descent than any technique change I have tried.
Strength work matters too, and it does not require a gym membership. Ten minutes of slow bodyweight squats and step-downs twice a week, done in the living room, made a visible difference for me over one winter. So did losing a little weight, though I will not pretend that part was enjoyable.
The Cascade Mountain Tech poles have held up for three seasons of exactly this kind of use, and they carry a limited manufacturer warranty. I have not needed it. I have not been gentle with them either. They get thrown behind the seat wet, dried out in the garage, and pressed into service as tent pole helpers more than once.
The last thing is knowing when to turn around. If my knee is already talking at the top, adding another mile of downhill is not brave, it is a week of limping. I have turned around more than once. The mountain is still there.
If Your Knee Is the Reason You Cut Trips Short
Two poles, adjustable from 26 to 54 inches, cork grips with an extended lower section, tungsten carbide tips plus rubber tips and baskets in the box. Mine have three seasons on them and they live behind the seat of my truck.
Amazon Check Today's Price on Amazon →